

Subjects
Subjects
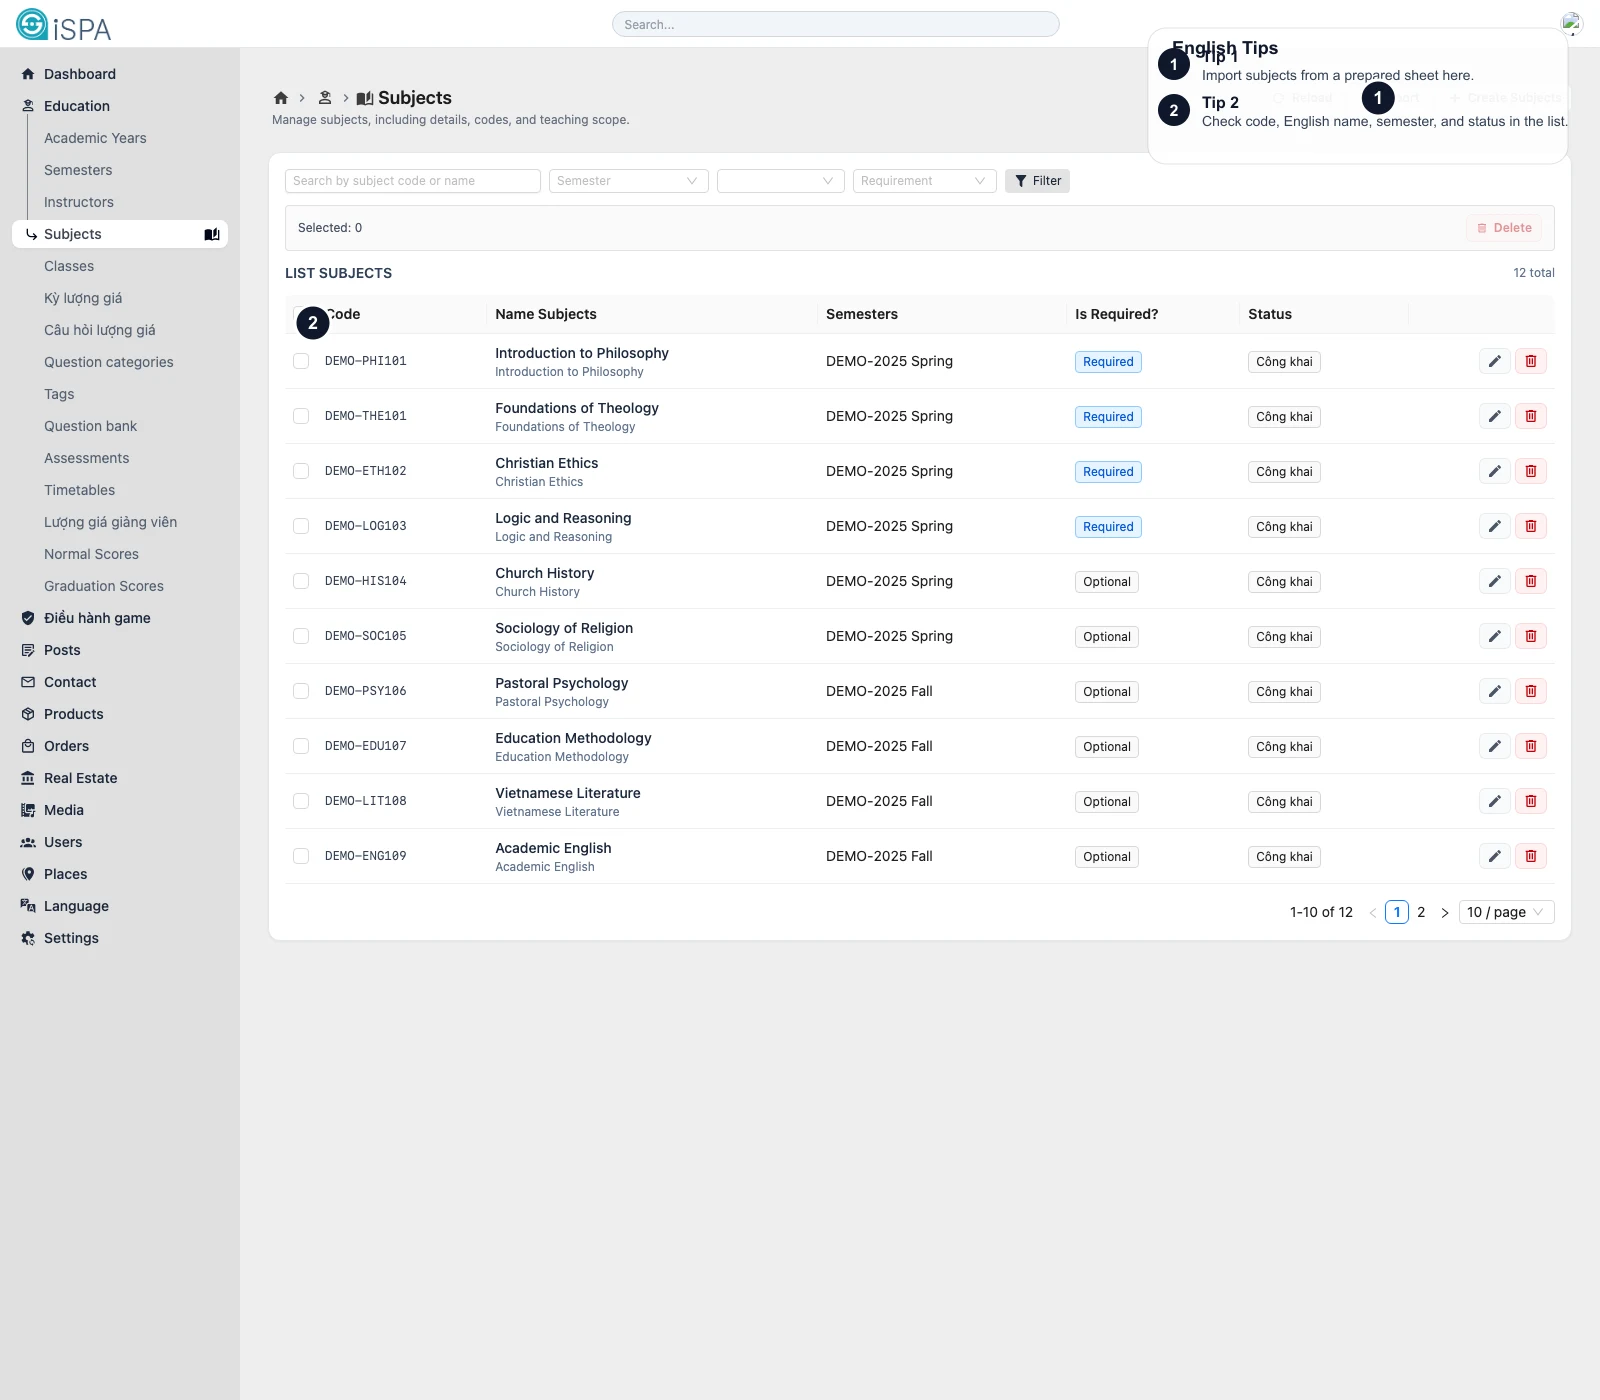
Illustration captured from the local environment on March 14, 2026. The English callouts point to the import action, filter bar, and subject table so you can understand the main layout at a glance.
Use this page to manage subjects before linking them to class offerings, timetables, or assessments.
What appears on this screen
- a search filter for subject code or name
- semester, status, and required filters
ReloadImportCreate- bulk delete
- the subject list table
Important columns usually include:
codenamename_englishsemesteris_requiredstatus
When should you use Import?
Use import when:
- you are initializing subject data
- the academic office provides a structured source file
- you need to update many records at once
After import, filter by semester and review the first rows. Semester linkage is one of the easiest places to make a mistake.
What the create or edit screen contains
The detailed subject form usually includes:
- subject code
- legacy or original ID
- local name
- English name
- department
- level
- credits
- semester
- required or optional switch
- description
- status
The list screen is for finding and reviewing. The form screen is for full configuration.
Recommended safe workflow
- Filter to the semester you are working on.
- Search before creating a new subject.
- Create only when the record does not already exist.
- Edit when the subject exists but metadata is incomplete.
- Use bulk delete only if you are sure the subjects are not already tied to classes or evaluations.
Why the required switch matters
It distinguishes:
- required curriculum subjects
- optional subjects
That distinction becomes important later in reporting, enrollment logic, and program interpretation.
Common mistakes
- linking the subject to the wrong semester
- forgetting the English name
- deleting a subject that is already used in class offerings
- creating duplicates because the list was not searched first
After subjects are ready, most teams move next to Classes or Timetables.